

Pure price action. No indicators. One simple three-step formula that works across markets. This method focuses on market structure, supply and demand, and strict risk to reward. Follow these rules and you trade with the trend instead of guessing against it.
Table of Contents
- Outline
- Step 1 — Market structure: know when a trend is real
- Step 2 — Supply and demand: buy from demand, sell from supply
- Step 3 — Risk to reward: never accept a bad trade
- Examples — repeatable setups
- Common mistakes to avoid
- FAQ
- Final checklist before entering
Outline
- Step 1: Market structure — identify the trend correctly
- Step 2: Supply and demand — trade from zones, not signals
- Step 3: Risk to reward — only take high-probability setups
- Examples and how to draw zones
- FAQ
Step 1 — Market structure: know when a trend is real
The first rule is the most important. If you get market structure wrong, everything else fails. Market structure comes down to one basic idea:
- Uptrend: higher highs and higher lows
- Downtrend: lower lows and lower highs
But the trick is knowing which swings are actually valid. A minor break or a false breakout does not automatically mean the trend reversed. A low only becomes a valid swing low when price breaks the previous high that confirms that low. Until that confirmation happens, treat the bigger structure as intact.
In other words, a single dip that slices through a previous low is not enough to flip the bias. Wait for confirmation: the price needs to break the structure that confirms the change. Trade only in the direction of the confirmed trend.
Practical rule
- Only hunt longs when the structure shows higher highs and higher lows.
- Only hunt shorts when the structure shows lower lows and lower highs.
- Ignore small noise until a structure-level confirmation occurs.
Step 2 — Supply and demand: buy from demand, sell from supply
Once trend direction is nailed down, the next step is to find where to enter. Use supply and demand zones, not indicators or patterns. The logic is simple:
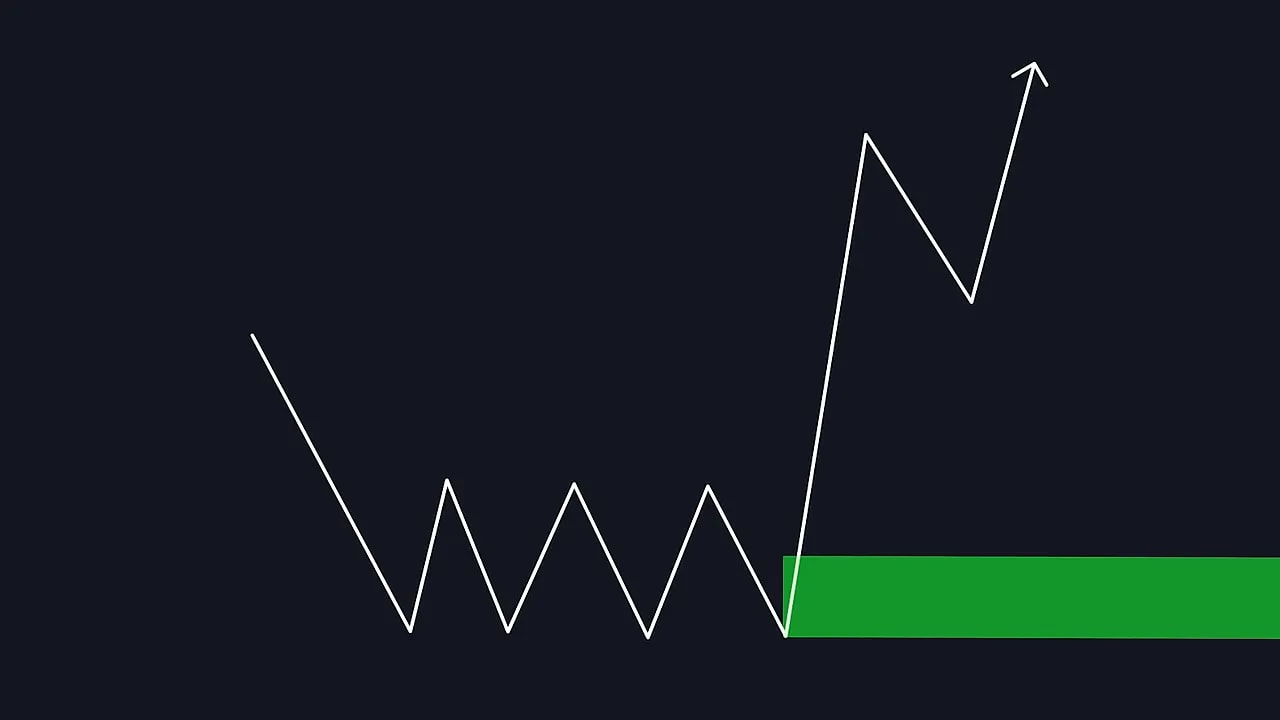
- Demand zones form where price consolidated then shot higher — buyers stepped in aggressively.
- Supply zones form where price consolidated then fell sharply — sellers dominated.
How to mark a zone quickly and consistently:
- Find the consolidation area immediately before an impulsive move.
- Mark the candle right before the impulse.
- Draw a rectangle from that candle’s low to its high — that rectangle is your demand or supply zone.
Entry and trade management:
- Wait for price to re-enter the zone.
- Enter when price shows acceptance of the zone (price action confirmation or a bounce).
- Set stop loss just outside the zone — below demand, above supply.
- Target recent structure — recent highs in an uptrend, recent lows in a downtrend.
Only mark demand zones in uptrends and only mark supply zones in downtrends. That keeps your bias aligned with the market and drastically increases win probability.
For crypto traders, supply and demand zones play out across every blockchain and token. If you trade multiple coins, a reliable way to scale your edge is to combine this price action approach with a curated feed of cryptocurrency trading signals. Those signals can help you prioritize which coins are retesting meaningful zones and where liquidity is concentrated so you don’t waste time scanning low-probability setups.
Step 3 — Risk to reward: never accept a bad trade
Even when steps one and two line up, one more filter keeps your edge intact: risk to reward. Only take trades with a minimum R:R of 2.5 to 1. That means you should expect at least $2.50 of potential reward for every $1 of risk.
Why 2.5:1?
- It compensates for inevitable losses and increases expectancy.
- It forces discipline — you skip crowded, low-margin setups and only accept trades where the math favors you.
If a valid zone offers less than 2.5:1, skip it. Let price play out and wait for a better setup. This single rule improves long-term profitability more than tweaking indicators ever will.

Examples — repeatable setups
Examples follow the same three steps. Identify the trend, draw the relevant zone, check R:R, and only then enter. Here are the typical outcomes:
- Uptrend → mark demand zone → price retests zone → enter long → stop below zone → TP at recent high
- Downtrend → mark supply zone → price retests zone → enter short → stop above zone → TP at recent low
Repeat the process. The market routinely creates multiple zones you can trade consecutively while the trend remains intact.
Common mistakes to avoid
- Jumping to short positions when price makes a one-off dip inside an uptrend.
- Using tiny, arbitrary stop losses inside the zone — give the zone room to breathe and place stops just outside.
- Taking trades with poor risk to reward because you feel FOMO.
Stick to the rules: structure, zones, and R:R. That’s it.
FAQ
What timeframes does this strategy work on?
It works on multiple timeframes. Higher timeframes (4H, daily) produce cleaner zones and less noise. Lower timeframes can be used for entries, but the trend should be confirmed on a higher timeframe first.
Do I need indicators or patterns to use this?
No. The strategy is pure price action. Indicators add lag and can clutter decision-making. Keep it simple: structure, supply/demand zones, and R:R.
How exactly do I draw a demand or supply zone?
Find the consolidation right before a strong impulsive candle. Mark the candle immediately before the impulsive move and draw a rectangle from its low to high. That rectangle is your zone. Use the same method consistently for repeatable results.
What if price never returns to my zone?
If price does not revisit the zone, do not chase. Let the market create a new zone or wait for a better risk to reward. Patience is part of the edge.
Is this strategy suitable for crypto markets?
Yes. Crypto often has strong impulsive moves and clear zones. Combining this approach with targeted cryptocurrency trading signals can help you spot which tokens are retesting meaningful zones and where liquidity is concentrated, making it easier to prioritize setups across multiple blockchains.
Final checklist before entering
- Is the market structure confirmed? (HHHL for longs, LLHL for shorts)
- Is there a clear supply or demand zone drawn from the consolidation before an impulse?
- Is the risk to reward at least 2.5 to 1?
- Is the stop loss placed just outside the zone and the take profit at a recent structure level?
Trade only when all four boxes are checked. Repeat this process and the quality of your trades will improve dramatically. Price action beats indicators when you stick to a simple, disciplined plan.
